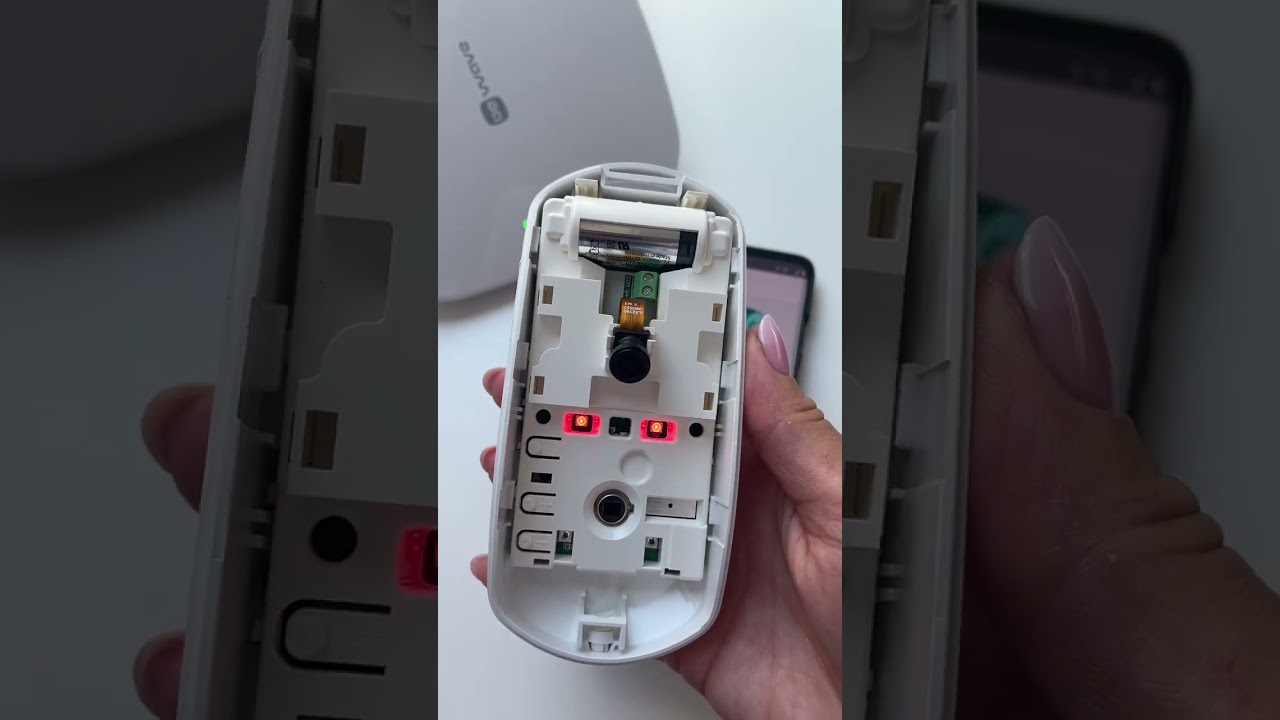
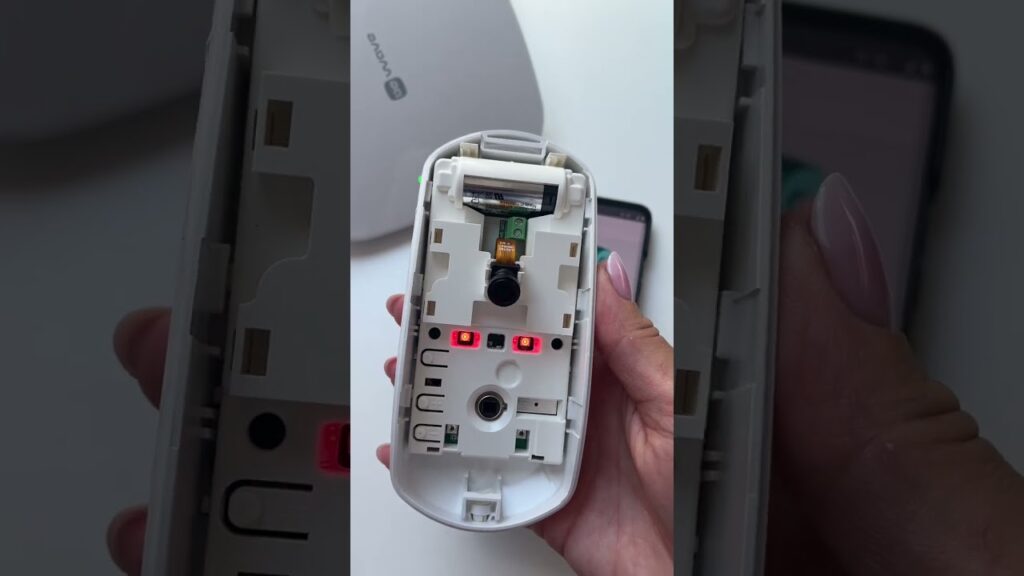
Today, you will learn how to add your first device to the BE WAVE App in just a few simple steps. The video by SATEL Polska will guide you through the process of integrating your device into the system seamlessly. With Satel Alarm systems, Bewave, Secury360, and AI analysis of live camera feeds, you can enhance the security of your home or business.
By following the easy instructions in the video, you will be able to set up your device quickly and efficiently. With the help of the BE WAVE App, you can monitor and control your security system with ease, giving you peace of mind knowing that your property is well-protected.
Overview of BE WAVE App
If you’re looking to seamlessly integrate your devices into a smart home system, BE WAVE App is the perfect solution for you. This app offers a user-friendly interface that allows you to easily control and manage all your connected devices with just a few taps on your smartphone. From setting up device notifications to customizing controls, BE WAVE has everything you need to create a truly smart home environment.
What is BE WAVE App?
BE WAVE App is a mobile application that serves as a central hub for all your connected devices. Whether you have smart lights, security cameras, or thermostats, this app allows you to control and monitor them all from one convenient location. With BE WAVE, you can easily tailor your devices to suit your preferences and lifestyle.
Features of BE WAVE App
The BE WAVE App comes equipped with a range of features designed to make managing your devices a breeze. From setting up device notifications to creating device groups for automation, this app offers a comprehensive set of tools to help you make the most of your smart home setup.
Benefits of using BE WAVE App
By using the BE WAVE App, you can enjoy the convenience of controlling all your devices from one place. Whether you’re looking to enhance your home security, improve energy efficiency, or simply streamline your daily routines, BE WAVE makes it easy to manage your smart devices with ease.
Getting Started with BE WAVE App
If you’re eager to get started with BE WAVE App and take control of your devices, follow these steps to set up your smart home system.
Downloading the BE WAVE App
To begin using BE WAVE, head to the App Store or Google Play Store on your smartphone and search for “BE WAVE.” Once you’ve found the app, download and install it onto your device.
Creating an Account
After you’ve successfully downloaded BE WAVE, open the app and create an account by entering your email address and creating a password. This account will serve as your gateway to managing all your connected devices.
Logging In to BE WAVE App
Once you’ve created your account, log in to the BE WAVE App using your email and password. You’re now ready to start adding your devices to the app and customizing their settings to suit your needs.
This image is property of i.ytimg.com.
Adding a Device to BE WAVE App
Now that you’ve set up your BE WAVE account, it’s time to add your first device to the app. Follow these steps to seamlessly integrate your device into your smart home system.
Locating the Add Device Button
To add a device to BE WAVE, navigate to the app’s home screen and locate the “Add Device” button. This button is typically displayed prominently on the screen, making it easy to find and access.
Selecting the Type of Device
After clicking on the “Add Device” button, you’ll be prompted to select the type of device you want to add. Choose the category that best fits your device, whether it’s a smart light, security camera, or thermostat.
Entering Device Details
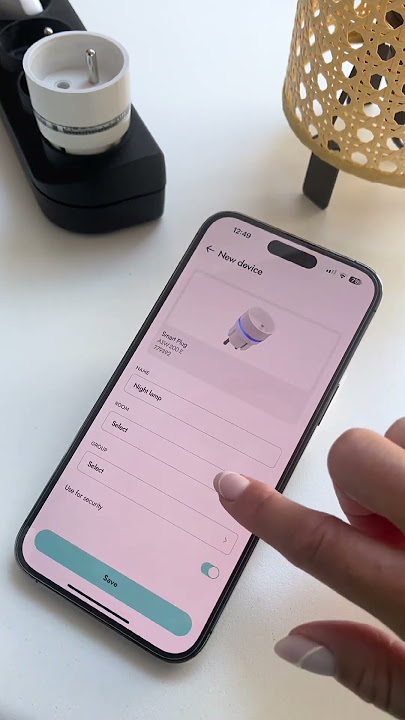
Once you’ve selected the type of device, you’ll need to enter specific details about the device, such as its name, model, and any other relevant information. Make sure to input accurate details to ensure seamless integration with BE WAVE.
Connecting the Device to BE WAVE App
Now that you’ve added your device to BE WAVE, it’s time to connect it to the app so you can start controlling it remotely. Follow these steps to pair your device with BE WAVE successfully.
Activating Device Pairing Mode
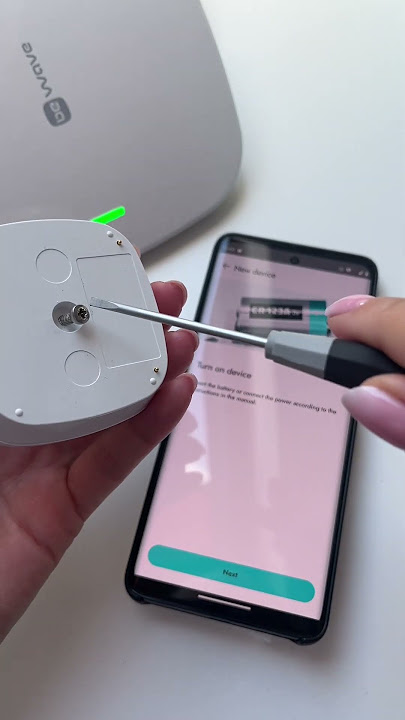
Put your device into pairing mode by following the manufacturer’s instructions. This mode allows your device to be discovered by BE WAVE and establishes a secure connection between the two.
Scanning for Available Devices
In the BE WAVE App, navigate to the device pairing section and scan for available devices. Your device should appear in the list of available devices for you to select and pair with.
Pairing the Device with BE WAVE App
Select your device from the list of available devices in BE WAVE and follow the on-screen instructions to complete the pairing process. Once successfully paired, you’ll be able to control your device through the app.
This image is property of i.ytimg.com.
Configuring Device Settings in BE WAVE App
Now that your device is successfully connected to BE WAVE, it’s time to configure its settings to your liking. Follow these steps to customize your device’s functions and ensure it operates according to your preferences.
Setting up Device Notifications
Adjust the notification settings for your device to receive alerts and updates on its status. This feature can help you stay informed about your device’s activity and performance.
Adjusting Device Preferences
Customize your device’s preferences in the BE WAVE App to tailor its settings to suit your lifestyle. Whether you prefer certain lighting levels or specific security camera angles, make sure your device operates according to your preferences.
Customizing Device Controls
Personalize the controls for your device in BE WAVE by customizing buttons, layouts, or other user interface elements. By tailoring the controls to your liking, you can easily operate your device with just a few taps on your smartphone.
Testing the Device Connection
After configuring your device settings in BE WAVE, it’s essential to test the connection to ensure everything is functioning correctly. Follow these steps to verify your device’s communication and functionality.
Verifying Device Communication
Check that your device is communicating correctly with BE WAVE by sending test commands or adjusting settings. If your device responds as expected, it’s a good sign that the connection is stable.
Testing Device Functionality
Test the functionality of your device by using it through the BE WAVE App. Ensure that all controls and features are working as intended and that you can easily operate your device remotely.
Troubleshooting Connection Issues
If you encounter any connection issues or your device is not responding as expected, troubleshoot the problem by checking for common issues such as connectivity problems or device compatibility. Refer to the manufacturer’s guidelines for troubleshooting tips and solutions.
This image is property of i.ytimg.com.
Accessing Device Controls on BE WAVE App
Now that your device is up and running with BE WAVE, you can easily access its controls and manage its settings through the app. Here’s how you can navigate the BE WAVE interface to control your connected devices effectively.
Viewing Device Status
Check the status of your device by accessing the device control panel in the BE WAVE App. This panel displays real-time information about your device’s operation, such as its current state, battery level, or connectivity status.
Controlling Device Functions
Operate your device remotely through the BE WAVE interface by using the provided controls. Whether you’re adjusting lighting levels, monitoring camera feeds, or changing thermostat settings, you can control your device effortlessly through the app.
Managing Device Settings
Manage your device settings in the BE WAVE App to ensure your device operates optimally. From scheduling automated tasks to setting up user permissions, you can customize your device’s settings to suit your needs and preferences.
Integrating Multiple Devices with BE WAVE App
If you have multiple devices you want to connect to BE WAVE, follow these steps to seamlessly integrate them into the app and create a cohesive smart home system.
Adding Additional Devices
Repeat the process of adding devices to BE WAVE for each additional device you want to connect. Make sure to enter accurate details and pair each device successfully to ensure smooth integration with the app.
Creating Device Groups
Organize your devices into groups based on their functionality or location. By creating device groups in the BE WAVE App, you can easily control multiple devices simultaneously and automate their actions for added convenience.
Syncing Devices for Automation
Sync your devices in the BE WAVE App to create automated routines and schedules. By syncing devices, you can set up triggers and actions that occur automatically based on predefined conditions, making your smart home more efficient and convenient.
This image is property of i.ytimg.com.
Ensuring Security of Connected Devices
To protect your connected devices and ensure the security of your smart home system, follow these steps to implement security measures within the BE WAVE App.
Setting up Device Passwords
Secure your devices by setting up individual passwords for each device in the BE WAVE App. This additional layer of security helps prevent unauthorized access and protects your device’s data and functions.
Enabling Two-Factor Authentication
Enhance the security of your BE WAVE account by enabling two-factor authentication. This feature adds an extra verification step when logging in to your account, further safeguarding your devices and data from potential threats.
Monitoring Device Activity
Keep track of your device’s activity and performance through the BE WAVE App. Regularly monitor your devices to ensure they are operating as expected and look out for any unusual behavior that may indicate a security breach or malfunction.
Conclusion
As you dive into the world of smart home automation with the BE WAVE App, keep these final tips in mind to make the most of your connected devices.
Final Tips for Adding Devices to BE WAVE App
- Make sure to update your devices’ firmware regularly to access the latest features and enhancements.
- Explore the full range of settings and controls available in BE WAVE to customize your devices to your liking.
- Reach out to customer support if you encounter any issues or need assistance with setting up your devices.
Enjoying the Benefits of Connected Devices with BE WAVE App
Experience the convenience and efficiency of managing your devices through the BE WAVE App. Enjoy the freedom of controlling your smart home from anywhere, at any time, with just a few taps on your smartphone.
Troubleshooting Common Device Integration Issues
If you run into any common device integration issues, refer to the troubleshooting guide in the BE WAVE App or reach out to customer support for assistance. With a little troubleshooting and patience, you can overcome any challenges and enjoy a seamless smart home experience.
This image is property of i.ytimg.com.
